|
Year 4 Student, Morgan "I liked watching the paint splatter on the coat... I learned that gravity affected the swing of the pendulum." |
|
|
Year 2 Student, Tanush "I really liked seeing how the lab coat turned out after we splashed all of the colors on it... I learned how to make a pendulum and that you can create art by using one." |
|
|
Year 2 Student, Pat "I really liked swinging the bucket and decorating the lab coat with all of the different paint colors... I learned how to create and use a pendulum and also that the paint we used took a long time to dry." |
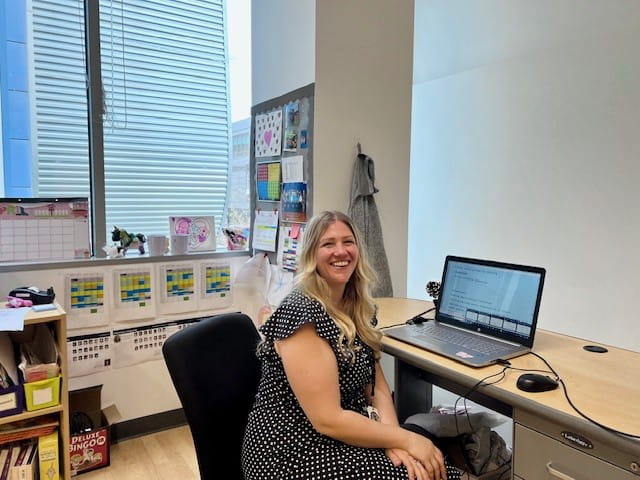
Katie Miles, Year 6 teacher and Social Impact Lead talks about the NAE Social Impact program and how it empowers students to be agents of positive change in their communities and around the world.
British International School of Chicago, Lincoln Park
814 and 821 W Eastman Street
Chicago
Illinois 60642
United States